It’s a well-known fact that you cannot use a raw piece of rock as it is. As a result, you’ll need to learn how to cut rock properly in order to give your stones the desired dimensions, reshape them or create a flat surface without damaging the material or hurting yourself.
The method and instruments required for cutting depend on the size and properties of your rocks and your budget. This is a detailed guide on how to give your rocks a clean and easy cut.
1. Understanding Your Material
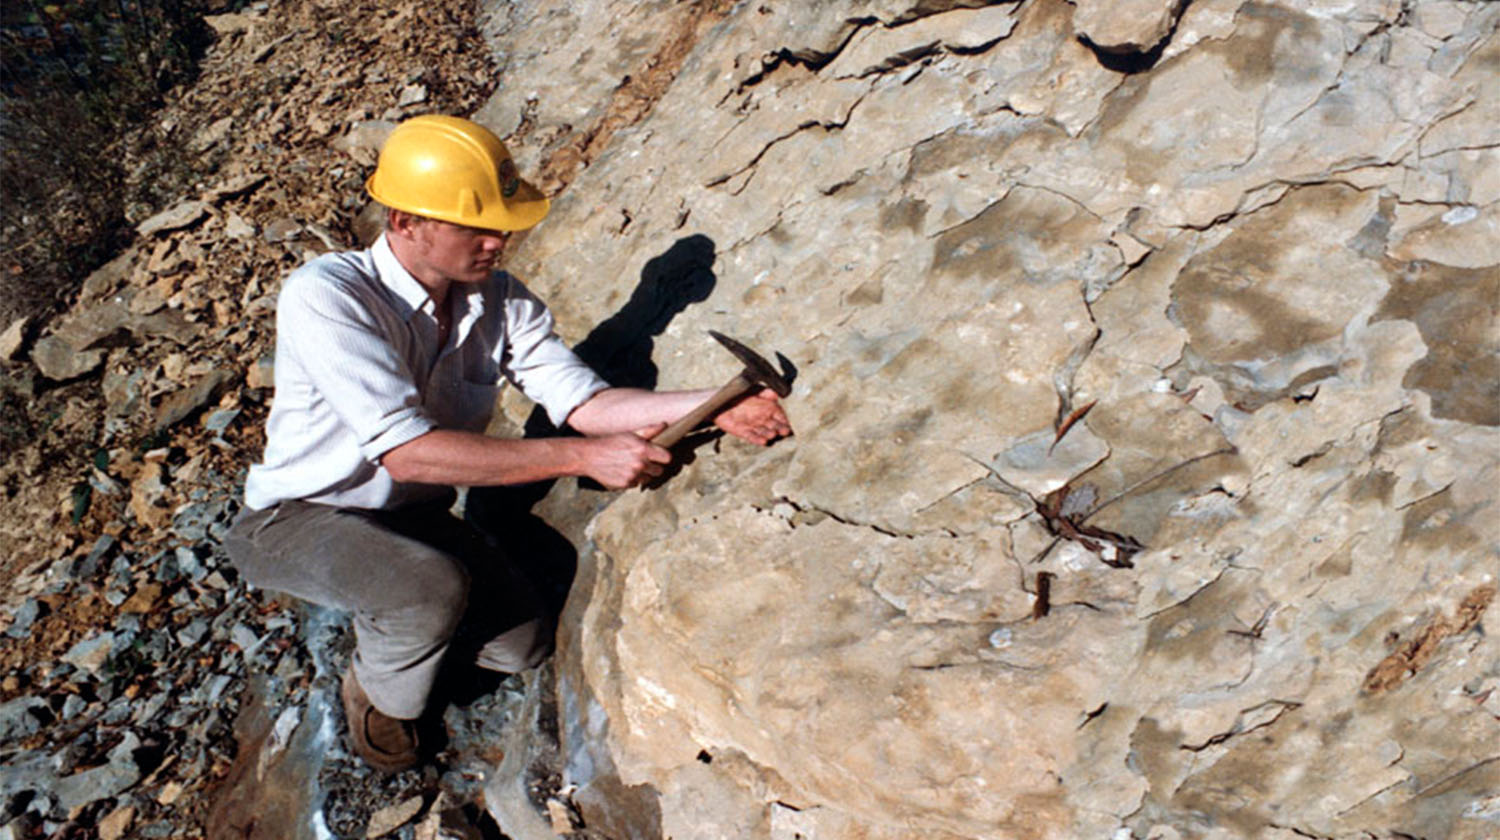
 Before you begin cutting your material, you must first understand it. The most crucial aspect to consider is the mechanical properties and, most notably, the hardness: the harder the stone, the harder the cutting tool has to be.
Below is a catalog of the most common rocks used in construction worldwide; we use Moh’s scale as a hardness indicator.
-
Concrete — Hardness: 3 to 8
Though this is not a natural mineral, you may be tasked with cutting it, as it is a widely used construction material.
-
Gneiss — Hardness: 7
Due to the porosity and presence of many undesirable constituents, it is often only used for minor construction, although some hard varieties are resistant enough to be used for building.
-
Marble — Hardness: 3 to 4
Less textured and less porous, this stone polishes very well and is available in various colors. It is usually used for ornamental purposes.
-
Quartzite — Hardness: 7
Generally used as a big block for building, this stone has a granular texture with fine to coarse grains.
-
Limestone — Hardness: 3 to 4
Soft, porous, and containing lots of impurities, limestone cannot be used for building construction and is often applied as a base material for cement. It is, however, used for works such as flooring or roofing.
Keep in mind that this stone can be vulnerable to chemical attacks in hostile environments (coastal or industrial areas).
-
Basalt — Hardness: 6
This stone can be used in engineering structures such as bridges, river walls, dams, etc. This is because it is resistant to extreme weather conditions.
-
Sandstone — Hardness: 6 to 7
It is mainly composed of quartz and is used for building heavy constructions and masonry works.
-
Granite — Hardness: 6 to 7
This stone has a granular texture, and grain size varies from coarse to fine. The porosity is relatively low, and it has good meteorological resistance. The hardness and durability of granite make it a good material for a wide range of uses in construction.
This includes wall and column cladding, railway ballasts, dams, retaining walls, and curbs. It is also widely used for decoration, as it polishes relatively well and is available in multiple colors. The only downside is that it has poor resistance to fire.
-
Slate — Hardness: 2.5 to 4
Slate is mainly composed of quartz and mica, and its properties depend on the chemical composition and the thickness of the stone. Its most common use is on roofs and pavements.
-
Laterite — Hardness: 2
Laterite has a characteristic red color due to the high percentage of iron oxide it contains. It is generally used as building blocks and is relatively easy to cut.
2. Select the Right Tools
-
Manual Tools
If you’ve opted for manual tools, here are two of the most important systems you’ll have to work with. Before you get started, it is essential to understand how each system works to avoid any damage to the material.
-
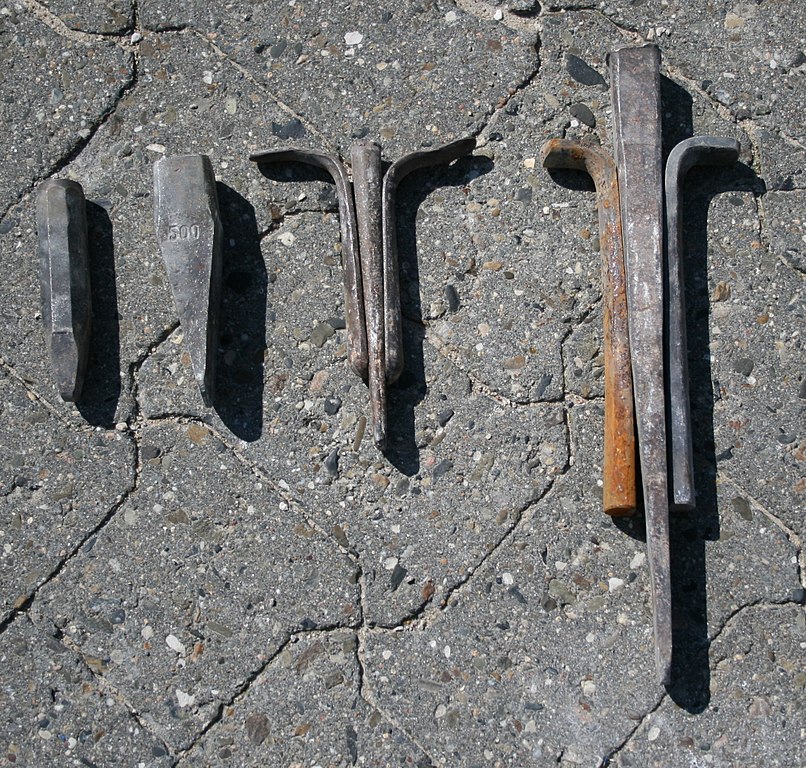
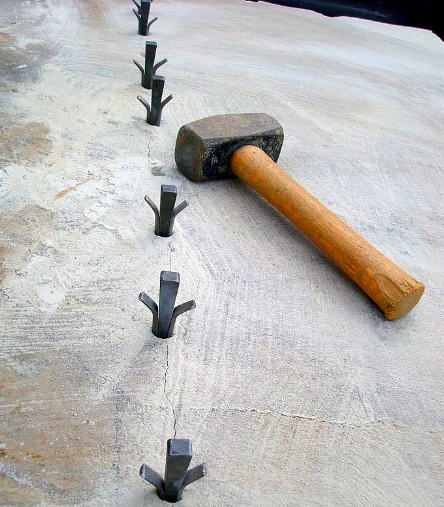
Shim/Feather and Wedges System
Used since ancient times, this is probably the simplest method to cut through massive rocks. If you have a stone of large dimensions, using a set of feather wedges can do an excellent job of splitting them into half.
Wedge is available in different sizes. Although the bigger ones will allow you to cut through deeper rocks, the resulting holes will be more challenging to hide after cutting.
Step 1:
You will first need to drill a series of holes along the cutting direction using a hammer drill or a rotary hammer, though the latter is the better option. The drilling depth should be identical to the wedge length so that the wedges fit perfectly, thus giving better results and avoiding losing the sets, which can be hard to get out afterward.
Step 2:
During this operation, make sure the drilling angle is the same for every hole. Different angles can result in a very uneven cut. The sets of shims and wedges can then be introduced, each in a hole, until every hole is occupied. Note that the feathers must be inserted so that the direction they point at is perpendicular to the direction of the desired cut. This is an important detail, as a misplaced set of feathers can result in unwanted cracks, which can later fragilize your rock.
Step 3:
Your line is now ready; you can take a hand hammer and proceed to hit slowly but firmly each of the wedges. After a few hits, you will notice small cracks appearing near each shim-wedge set. Because the force exerted on the wedge is transferred to the surrounding feathers, the drilled hole’s walls are pushed in opposite directions.
As a result, small cracks will form and spread in the direction defined by the holes. Keep hammering your wedges until the rock completely splits in half. There you got it, an easy cut!
However, this technique will give you slightly uneven cuts, even if you manage to do everything right. So if you are looking for a perfectly flat surface, skip to another cutting method.
-
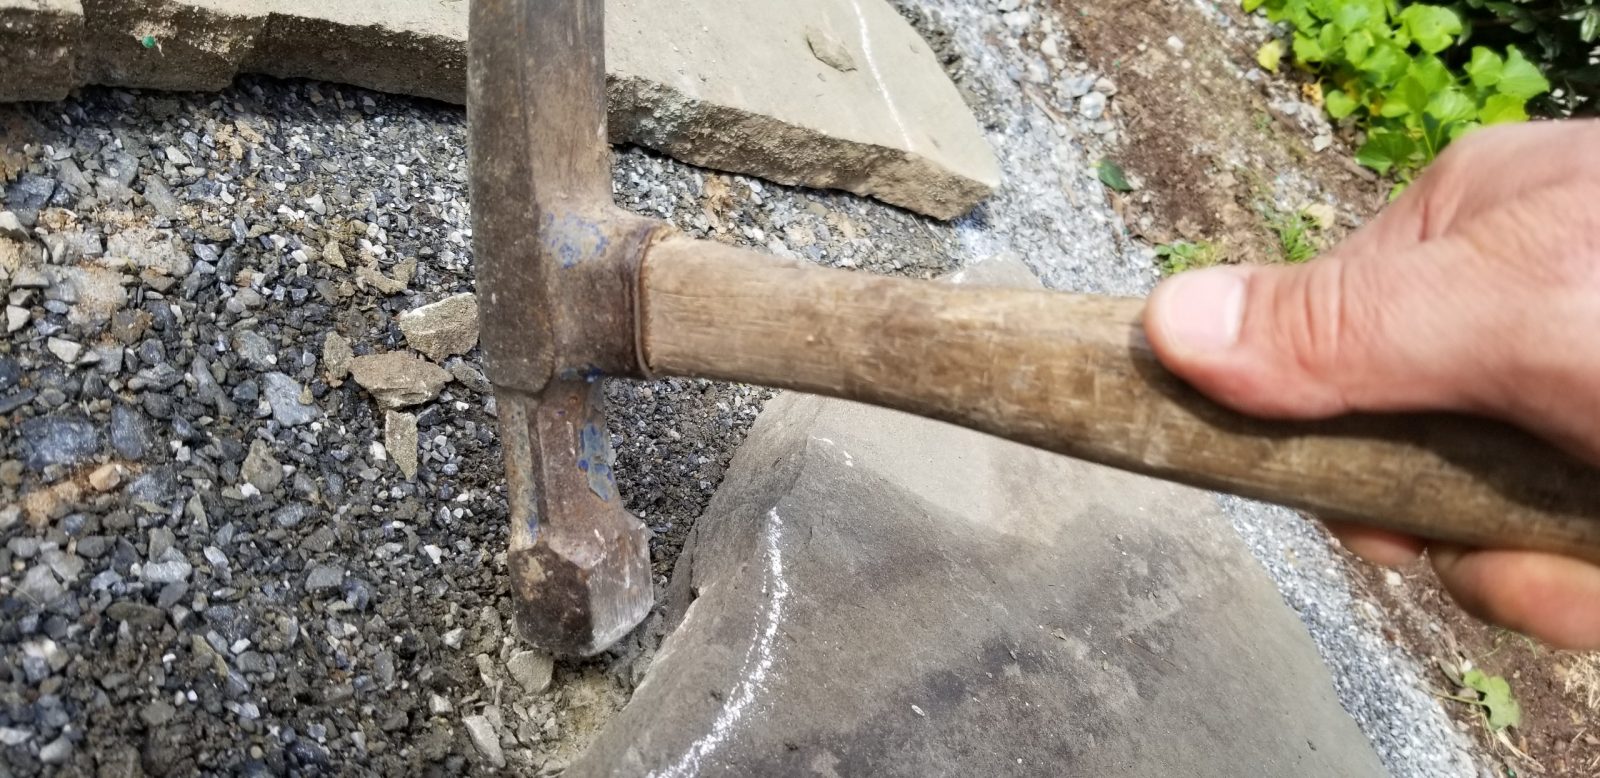
Stone Cutting Chisels
 Of all the listed methods, this one is by far the least expensive, as all you will need for cutting is a stone chisel and a hammer. However, this requires some skill when it comes to positioning the stone, hitting at the right angle, and finding the exact force magnitude needed to split the rock. In addition, only softer rocks can be cut using a hammer and a chisel (think of flagstone); harder rocks will require more advanced tools to be cut.
It’s essential to choose the right chisel size for your rock dimensions and your expertise level. A wider blade will allow more control over the direction of the cut, but it makes it challenging to direct the striking force on the rock, requiring a greater force and accuracy during the work. A one and a half-inch wide blade chisel is a good choice for most stone types.
Step 1:
For cutting, first, determine where you want your stone to be split and cut a straight line using your tool. You then need to hit the chisel with moderate force as you move it across the drawn path. Do not hold the blade at a perpendicular angle, as it can mess up your rock. Always hold it at an angle for cutting.
Step 2:
Once you’ve done that, you are ready to start hitting with force. Keep the chisel at an angle from the rock and apply a greater force to hit the top with your rock hammer. It’s important to hit with strength instead of just tapping, as the latter would only damage the rock at this stage. A few firm hits should be enough to break the rock apart.
Step 3:
After breaking the rock, you will still need to score the edges. This step is crucial for reshaping or craving the stone for building and ornamental purposes. For security and efficiency, you will first need to find a way to hold the rock still. Grab a bag of sand and put the rock on its surface, then twist it until you find a comfortable position to work with. The rock won’t be moving, and this will make it easier to maneuver.
This time, you will need to hold your chisel perpendicular to the direction you’ve drawn on the rock. Start by slightly tapping the top of your tool as you move it across the line, then increase the force, strike again on the scored line until the rock splits, and repeat as much as needed.
Step 4:
If you want better results using a chisel, you might need a few other tools to save time and improve your cutting accuracy. A trimming hammer is a good addition to your toolbox. These square-headed hammers sometimes feature a blade for easy rock cutting. For trimming, you will mostly need the square end. A brick hammer can also be helpful as they are lightweight and easy to use.
The hammer techniques cited above are only useful for moderate value materials. Fragile, expensive stones should be cut very carefully using more appropriate methods. A hammer hit can cause the stone to chip, crack, and eventually ruin it, leading to considerable losses.
-
Saws
A regular hacksaw blade is a convenient tool for cutting small, soft stones. However, when dealing with harder rocks, a tile or a mud saw should be used instead.
A wet tile saw is a standard tool used to cut various rocks, giving them accurate shapes and flat surfaces. However, assuming the saw blade is high quality, a tile saw cannot cut through excessively hard materials (above 7 on Mohs scale, that is anything harder than quartz). Therefore, you have to make sure you choose the appropriate blade for your rocks before cutting.
Mud saws are the most economical option, but they can be high maintenance. The blades contain no abrasives. Diamond blades are more durable but more expensive, depending on the quantity of diamond abrasive attached. They are also available in various thicknesses. Unless your stones are relatively costly, you should avoid getting a relatively thin blade, as it can bend or break easily if you’re cutting massive rocks in a high quantity. Pay attention to diamond blade prices; the cheapest will only last for a few cuts and are therefore not worth the investment.
Most saws will require lubrication, in addition to water. Lubricating the blades will give much cleaner results and expand the life of your tools, and saw oils are perfect for this use. However, if you choose to skip using oils, you should add some anti-rust agents to protect your blades.
-
Dremel Tools
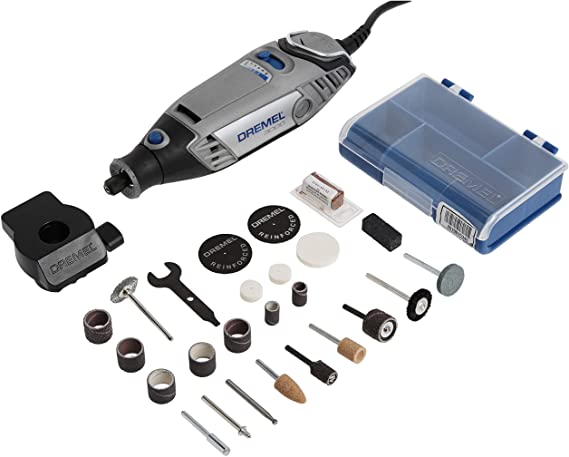 If you have small-sized rocks or gemstones, Dremels are the best tool for cutting and carving them. However, you can’t use Dremels directly on more giant rocks; they have to be sliced before using a Dremel.
With the Dremel, you will need a set of diamond bits and a clamp to secure your rock while cutting. Skip the idea of holding the rock at hand while working. You will only increase your chances of getting hurt. In addition, you won’t be comfortable during the process, thus decreasing the quality of the outcome.
Start by drawing a line where you want the rock to be cut to avoid making mistakes. Then, for safety, secure your stone using a clamp. You can also purchase a vice for this purpose. Next, connect a diamond bit of an appropriate size to your Dremel, and keep a few bits in your vicinity if you need a change.
The best technique for using a Dremel on stones is to set it at an average speed instead of a complete regime. Then, hold your tool at an angle, preferably 45 degrees from the surface of the rock, and start drilling without applying much pressure on it. You would want the diamond bit to work its way slowly through the material with minimum effort needed.
To create a nice finish after cutting, you may need to sand it. Get a sanding attachment and equip it with relatively coarse-grained sandpaper to begin. You can start sanding with 600-grit paper, then switch to 800, 1000 up to 1200-grit sandpaper. To finish off, attach a polishing wheel to your Dremel, dip it in the polishing paste and give it a light polish to make it smooth and shiny.
If you want to cut gemstones with a Dremel, some extra details need to be considered. As with regular stones, do some research on your material and know its components. Before you start cutting, you have to preform the stone.
Draw a rough shape where you want to cut and remove carefully any inclusions, then continue cutting across the drawn path until your gemstone breaks into two. Remember to wet the stone regularly to prevent it from overheating. If you notice any redness on the cutting surface, allow the stone to cool off before resuming.
3. Start Cutting
-
Get Your Workplace and Tools Ready
 Breathing in fine particles is highly dangerous and can cause pulmonary diseases long-term, especially if the dust contains quartz. Other hazards include dermatitis and injuries. However, you can avoid these health hazards with the proper protection.
Working outdoors is the best option, but when it is not possible, make sure your workplace is well ventilated. You may want to consult a specialist for setting the equipment. If you’re using a dust extraction system, make sure it fits your cutting tool. Always check your bags and filters, and make sure they are regularly emptied and cleaned. Also, think of covering up any appliances before working to avoid doing additional dust cleaning.
Wearing proper protective gear is a necessity. A face mask or respirator will protect you from inhaling toxic particles. Protective goggles and hand gloves are also needed. If you’re dealing with heavy rocks, you will also need to protect your feet by wearing adequate shoes.
Before starting to cut, make sure your tools are ready and in good condition. If you’re using a mud or tile saw, check the water reservoir and make sure there is enough water, you might even need an extra amount of water nearby, especially if you’re working with rocks of higher dimensions. Also, check your tool for lubrication and cleanliness.
-
Start Cutting
Once you have set up your workplace and worn adequate protection equipment, get your rock ready for the cut. Start by marking the cutting line with a piece of chalk (manual cutting techniques) or a permanent marker, measure your stone if needed, and plan each move carefully.
Next, secure your stone by placing it in a position where it is unlikely to move (or by using dedicated equipment) and get it ready by wetting it if needed, then find a comfortable position to work before starting. You are now ready to give your stone a cut; follow the instructions for the method you’re going for.
-
Clean Up
To clean up the resulting dust, avoid using air compressors. They can get dust everywhere, which is strongly not recommended for obvious health reasons. If you have to work indoors, control the dust production by using wet cutting techniques. Using water on your rock won’t only reduce dust diffusion but also contribute to cooling off the blade and the rock surface, extending the lifespan of your tool and giving you a sharper cut.
After using a saw, you will also need to clean your blades. You will also have to clean your saw periodically. Open the valve, get the lubricant out and eventually filter it for later use. Remove the sludge at the bottom manually using a knife or a scraper; the more you scrape out, the better. Find a safe spot to deposit the waste (a nearby garbage disposal unit for hazardous substances) and avoid washing it down the drain, as the small rock pieces can quickly get your plumbing clogged.
Additional Tips
- Whatever tool you are using, first practice on a throwaway material if you are new to cutting rock. You wouldn’t want to damage an expensive piece of stone (or worse, get injured) by misusing your equipment.
- Using a buffing wheel does a great job of polishing the stone. Do not use varnish; it can yellow the rock as it ages.
- Don’t put too much pressure on the rock while cutting with a tile saw. Instead, let the blade run slowly through the rock.
- Always stay at a safe distance from the rock, no matter the technique you are using.
- Pay attention to the condition of your tools. Are your wedges starting to bend? Is your blade not sharp enough? Aging can affect your tool’s performance and can even put your security at risk. Keep a close eye on your tools and know when to change them.
Conclusion
Cutting rock can be a difficult skill to master and may necessitate years of practice. Get used to working with different materials, try more than one cutting method, upgrade your tools as you go, and stay safe along the way; with practice and patience, you’ll get there.