
Like many other fields, the automobile and vehicle industry has shown incredible development and upgrades in the last few years.
That also includes the Air Conditioning system of the vehicles, which, undoubtedly, is an essential requirement in this era. However, as important as the air conditioning system is, so are the costs to repair it in case of glitches.
If you’ve got a malfunctioning AC hose, well, you don’t have to pay hefty costs to get it replaced. Just a good new hose and we have got the rest covered for you!
Signs of Damage to the AC Hose Assembly:
 Here is the first question: how can you detect when your AC hose needs replacement?
Usually, the AC hoses can go years without needing a replacement. Often, they even last as long as the car.
However, they are likely to be eroded since they are present in the engine plug. The AC hoses have exposure to heat and chemicals, which further add to it. So it is not uncommon for a replacement to be needed.
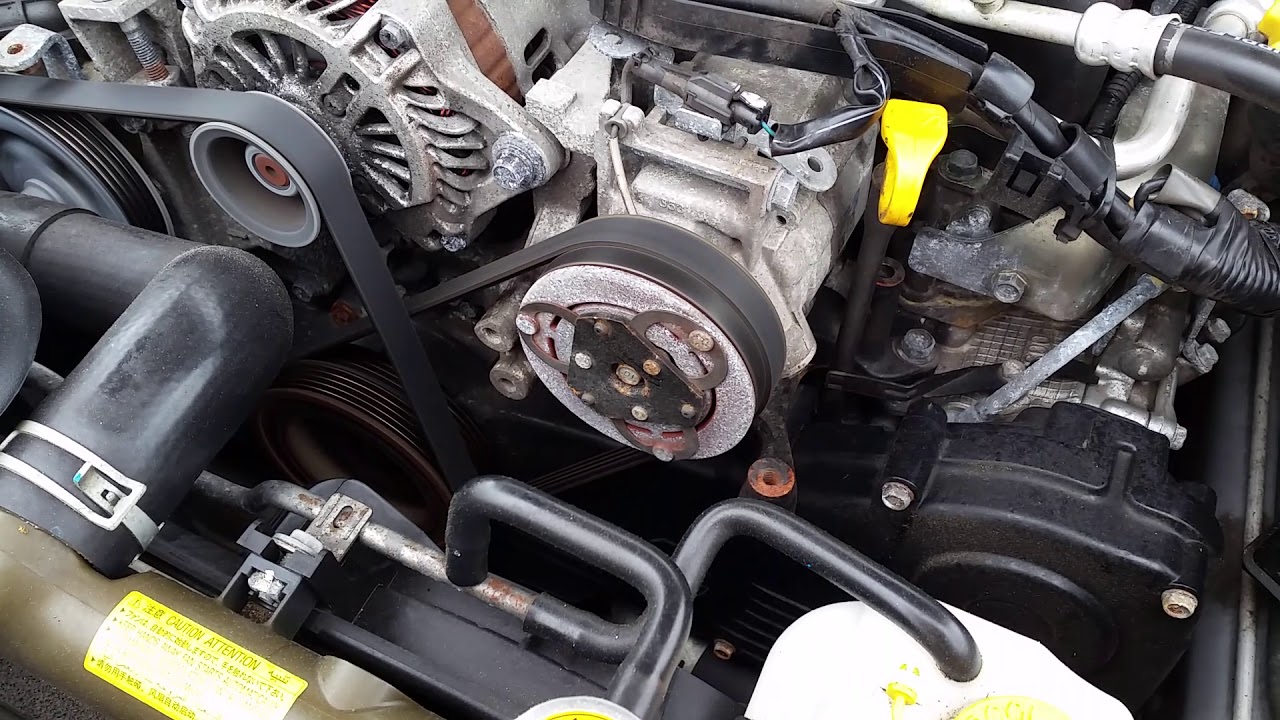
The earliest sign of a malfunctioning AC hose is physical damage.
You can spot tears and abrasions if the damage is substantial. However, that is not the only physical sign.
If there are leaks in the hose, grease usually covers it, and you can see the refrigerant dripping from it. The hose is unable to perform its function. When the accumulator doesn’t receive the refrigerant, it isn’t liquified.
As a result, the AC fails to cool the cabin, and the riders can feel it.
Choosing a Hose Assembly – the Turning Point:
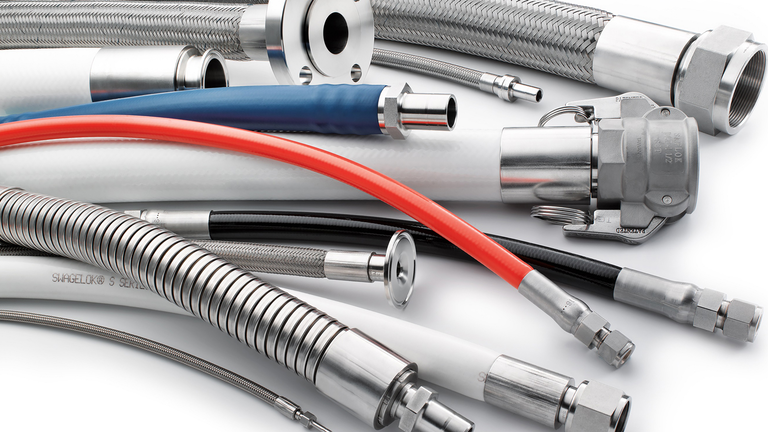 The fittings manufactured with the AC hose assemblies are unique to one type of vehicle. So knowing your vehicle is the stepping stone to getting an ideal hose assembly.
It is always a good idea to use hose assemblies that comply with OE specifications.
With time, hose assemblies, too, like all other components, are being improvised. A game-changing one is the use of a metal 3-way connector for added durability. That can last way longer than the rubber one.
Replacing the AC Hose Assembly:
Now here comes the critical part.
The hose assembly’s replacement is a technical task and requires safety gloves and goggles as easy it may be. Remember, you are still new to this!
- Remove the cables
To begin with, remove the battery cables from both terminals. You can easily do that using an open-ended wrench.
- Recover any remaining refrigerant
Next, make sure that you recover any remaining refrigerant. Simply secure the vacuum pump through the yellow lines, and in turn, connect an empty refrigerant tank to the vacuum pump.
- Reduce pressure gauge to zero
Remove all pressure from the AC system. Turn the vacuum pump on and let the system work. You can stop once all the pressure is relieved, and the pressure gauges read ZERO.
- Identify the broken part
After this step, you can identify the broken part that needed replacement.
- Remove the broken part
After identifying the broken part, remove the hose from the compressor. Then use an end wrench to remove it from the expansion valve as well.
- Install the new hose
Now use clamps to install and secure the new hose assembly. You can connect it to the expansion valve and compressor, respectively.
- Double-check the connections
Make sure to double-check the connections once all the components are connected. One loophole and all the work could be in vain.
Recharging the AC System – Testing the Functioning of New AC Hose Assembly:
You have to recharge the AC system to ensure that the newly fitted hose assembly works perfectly. You can do this in a few steps:
- First, secure all the valves and attach the manifold. Be careful to connect the high and low sides, respectively.
- After that, turn the valves on the port to ON.
- Now secure the vacuum pump, open, and close the manifold’s low and high valves. You can then turn the vacuum off.
- After this, attach the refrigerant canister to the manifold. Open the refrigerant valves, followed by high and low valves of the manifold.
- Once the system fills with the desired level of refrigerant, turn the high and low valves off.
- After that, start the car and turn the AC on to the full.
- Wait for the compressor to activate, and then open the low-side valve to continue the charging process.
The Final Step:
After completing the above steps, you can now close the low-side valve. Then close the tank and detach the fittings. Your AC system is now good as new!
UAC HA 1624C A/C Manifold Hose Assembly
 Specification:
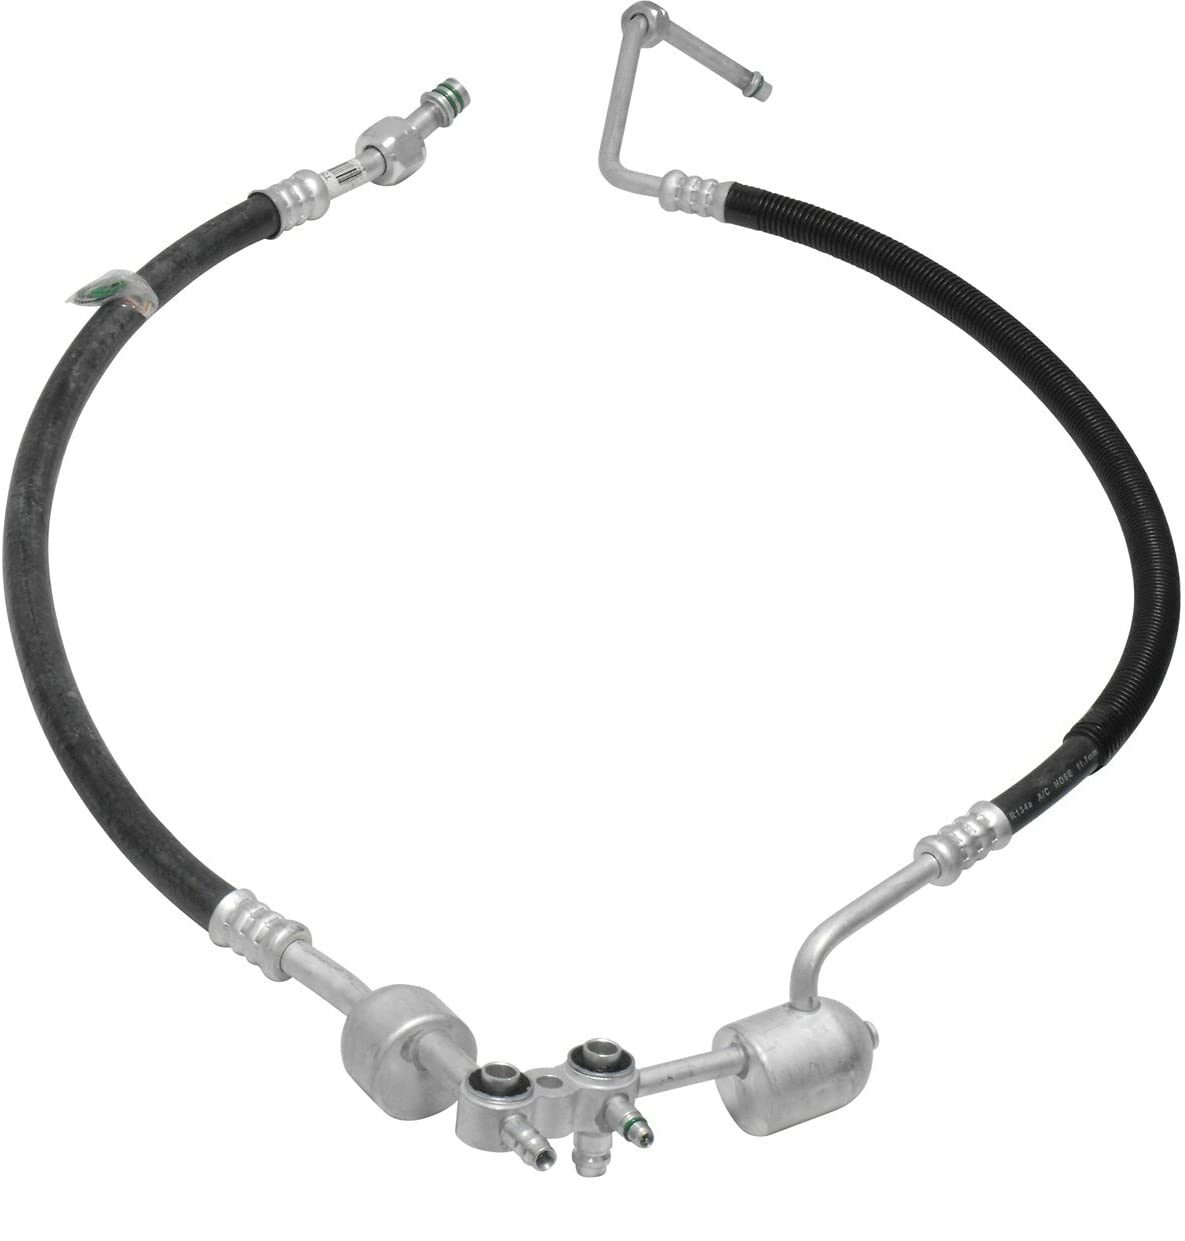
Manufacturer: UAC
Model: HA 1624C
Item Weight: 2.15 pounds
Product Dimensions: 35.7 x 6.4 x 21.3 inches
Exterior: Machined
Conclusion:
Replacing an AC hose assembly is not as hard as it looks. With proper maintenance and the use of advanced and newly designed hose assemblies, you can minimize the need to replace them. The key is adequate supervision, care, and timely response to glitches.