May it be household appliances, vehicles, or other types of machinery, losing a bolt or nut will always be a headache. This is also true with finding out that the only thing that’s wrong with whatever you’re fixing is a single loose thread bolt or nut.
A single bolt or nut! Not worth the run to the nearest hardware store now, is it? Especially in the time of a global pandemic.
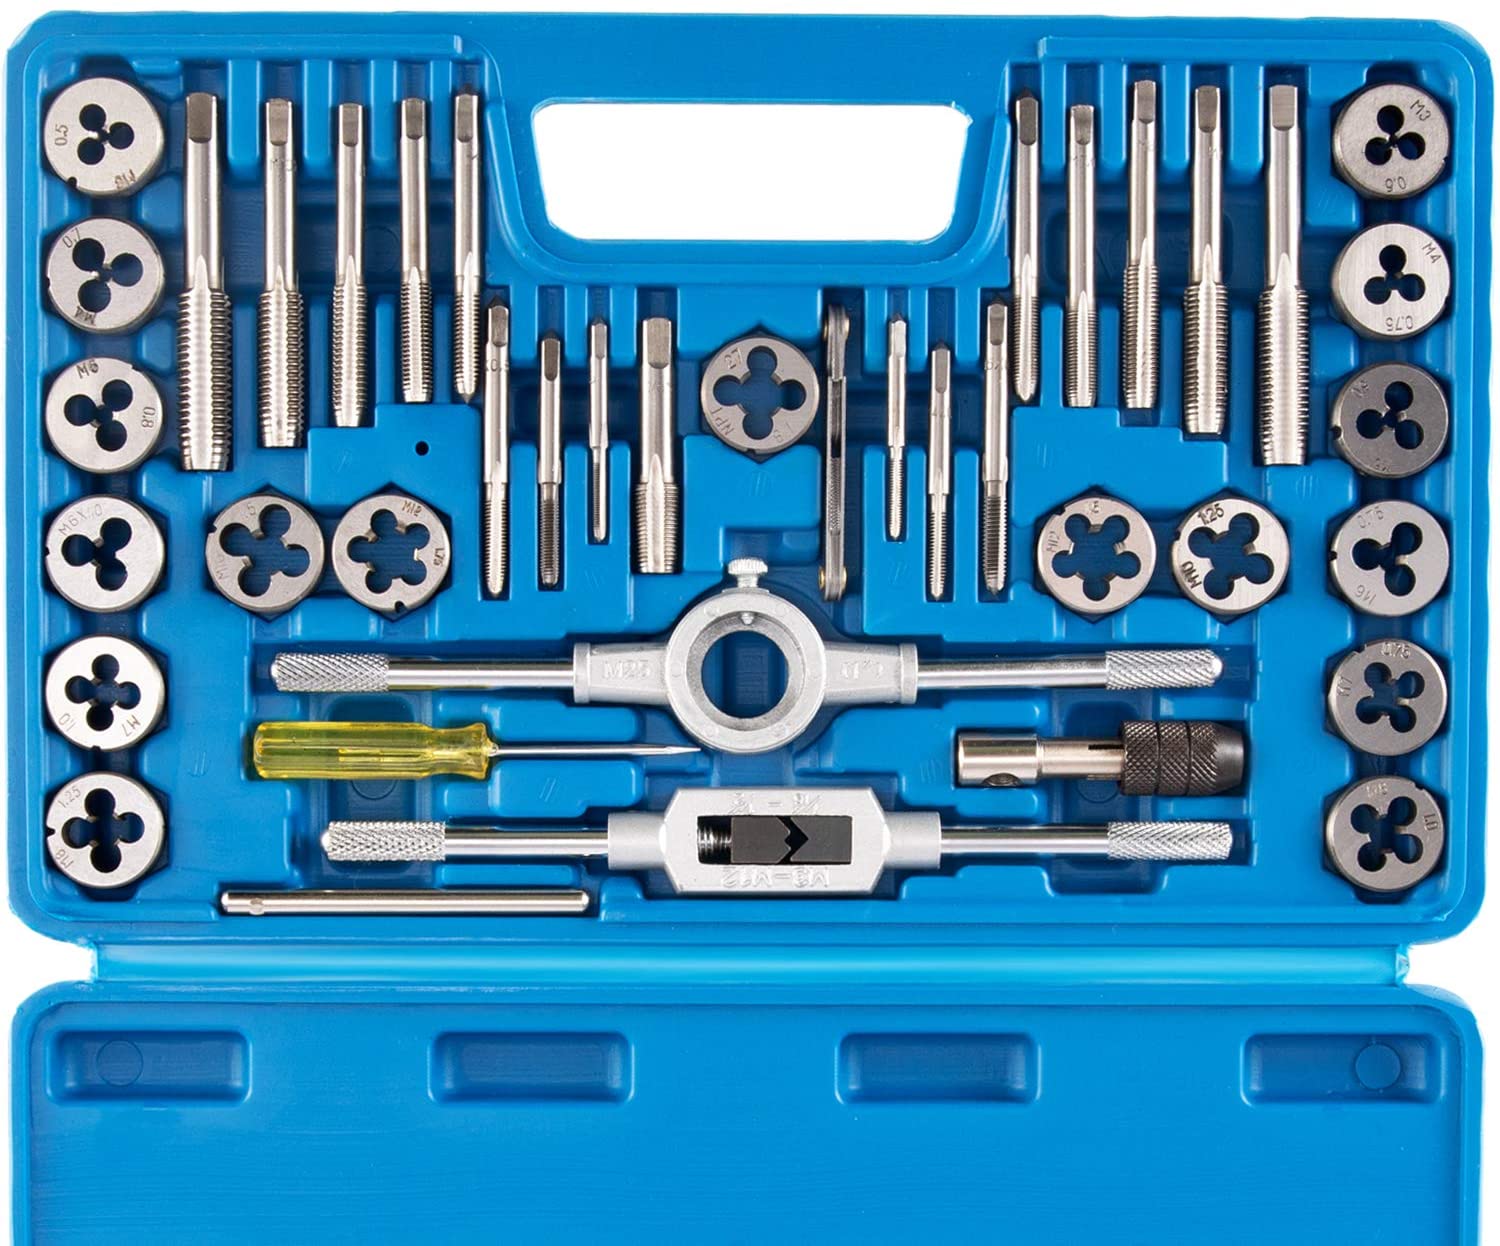
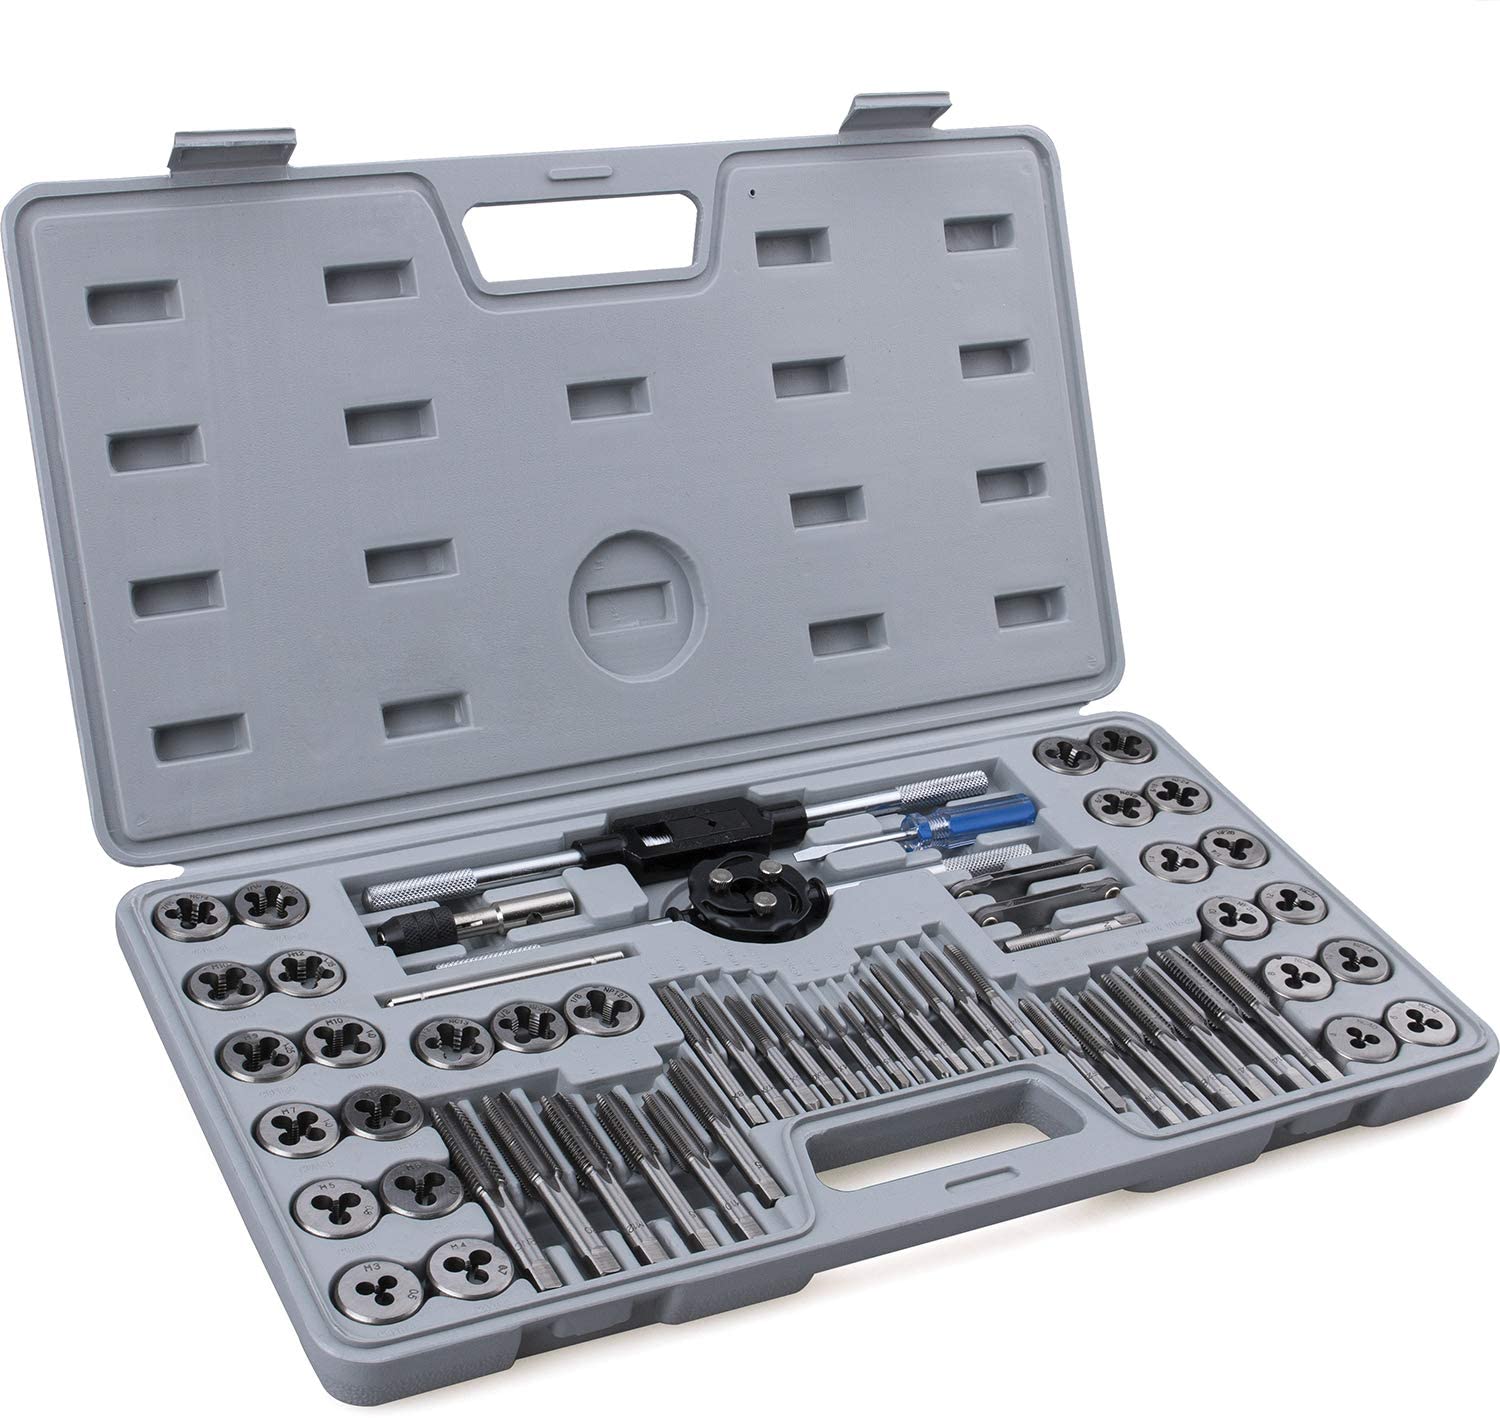
The best way to address this hiccup is to have a Tap and Die set and know how to use it properly. For example, tapping is making nuts with a tap, while threading is the process of creating threads for a bolt using a Die.
You can use this process to make your bolt or nut anytime you need it. This is proven to save both money and time! We’ve given three easy steps below to use a tap and die set.
Step 1. Prepare the Materials and Take Measurements
 Like with every task, planning is the key to a seamless process. In this case, preparing all the tools and materials needed and taking initial measurements comprise the initial planning process.
List of Tools/Materials Needed
- Metal Rod (For the bolt)
- Metal piece (For the nut)
- Vise table
- Bolt/Thread Gauge
- Lubricant/Cutting Oil (If necessary)
- Tap wrench (Pro tip: Have a T-wrench ready)
- Die Wrench
- Bottle of water or any beverage to quench thirst. (optional)
Tapping
To start, identify the tap or drill diameter that you will be using. There should be a tap diameter table guide included in your tap and die set. However, a quick search online could also do the trick. This guide will help you determine the proper drill diameter corresponding to the tap diameter and thread pitch values for easy computation.
Threading
Making a thread starts by measuring how deep a bolt or screw would fit. This is done by identifying the number of threads per inch (TPI) you will be making. While you can do this manually, the use of tools is recommended for precision.
There should be a bolt/thread gauge included in the tap and die set. But if there’s none, you can always order it online. You never know when it might come in handy. Once identified, mark it up and write it down to avoid confusion or any mixing of measurements.
Step 2. Secure and Drill
 After taking the proper measurement and putting the markings, make sure to double-check them so you can avoid wasted materials, time, and effort. Finally, place the bolt or nut in a secured setting, preferably in a vice table, to ensure no unwanted movements when drilling. This is important since any slight movement can ruin the thread or, worse, break off the tap.
Tapping
Because the tap is only a drill bit, you have to attach it to the tap wrench included in the set and ensure it is appropriately secured.
TIP: If the tap wrench is too wide for the clearance, use the T-wrench instead. It works like magic every time.
Before drilling, check the alignment of the tap to the material you will be drilling. Make sure that it is perpendicular to the tap and that there are no crooked angles. To drill the initial thread, it is best to use the tapered tap before moving on to the wider ones.
When drilling, apply light pressure to the tap until you feel the thread being sliced. Do not force it, as it may break or damage the tap or its material. Once you have made the first few rotations of the tap, you can stop applying pressure.
Continue rotating without pressure as the tap does its thing and embed itself into the material you are drilling. It is important to note that after every full rotation, a half rotation back should also be made to break off the chipped materials and allow the loose pieces to fall. This makes the drilling process easier and avoids any potential damage to the new threads.
As drilling creates friction that might heat the tap, apply lubricant or some cutting oil if necessary. When working with cast iron and aluminum, a lubricant is not necessary. However, if you are working with steel, lubricant is a must to avoid too much heat.
Making Threads With the Die
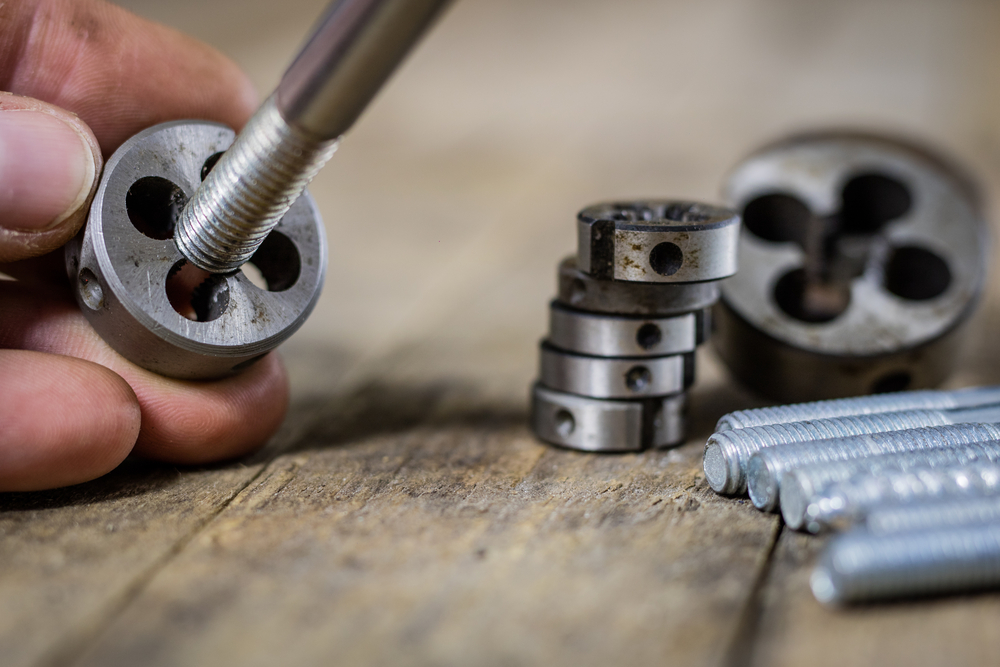
To make the bolt, make sure that the rod is attached securely in a vise to stay straight while working on the die. Although not necessary, it is advised that the rod is sanded so that the tip forms a tapered shape and helps guide the die in place.
Once the rod is prepared, you can attach the die to the wrench. It is similar to the tap wrench but with a ring in the middle, usually with many screws to secure the die. Similar to tapping, make sure that the die is straight and perpendicular to the rod.
Applying light pressure, make a few rotations until the die has created a secure fit, and then pressure is no longer necessary. Just like the tapping as well, every full rotation must have a corresponding halfback rotation. Continue until the desired length or thread count is achieved.
Step 3. Test and Adjust
Clean both the bolt and nut from any chipped material lodged between the threads before testing it. Then, make the adjustments as necessary. Otherwise, you can clean up, put away your stuff and enjoy your self-made bolt or nut!
Conclusion
The thought of making your bolt and nut could be intimidating. One would think that you need industrial-grade materials, tools, and workshops to make these things. If only they knew how easy it is to use a tap and die! But as for you, now that you’ve read this guide, you can now start making bolts and nuts.
